
No products in the cart.
Welding Amperage by Metal Thickness: A Starting-Point Guide
Find a safe welding amperage starting point using material thickness, process, joint, electrode or wire, position, machine chart, and test coupon.
 Written byHarfanTools Editorial Team
welding amperage by metal thickness cannot be determined from thickness alone. Process, material, joint design, fit-up, welding position, electrode or wire classification and diameter, shielding gas, travel speed, polarity, and procedure requirements all change the correct setting.
A common rule of thumb can help screen machine output, but it is not a welding procedure. Critical work must follow the approved welding procedure specification and applicable code, with qualified personnel and inspection.
Quick answer: Start with the chart inside the welder, electrode data sheet, or procedure specification for the exact material and consumable. Use thickness only to choose an initial range, make a test coupon, inspect fusion and distortion, then adjust within approved limits.
Welding amperage by metal thickness is a starting range that must be refined for process, joint design, consumable, position, and the actual workpiece.
Inputs That Change Welding Amperage
| Input | Why it changes heat demand | Best reference |
|---|---|---|
| Process | MIG, TIG, and stick transfer heat differently | Machine process chart |
| Consumable size | Diameter has an operating current range | Electrode or wire data sheet |
| Joint and fit-up | Root opening and bevel change deposition needs | Approved procedure |
| Position | Vertical or overhead technique differs | Procedure and training |
1. Use Thickness as a Screening Value
Miller offers a broad starting rule of roughly one amp per 0.001 inch of material when selecting a first welder. That can indicate output class, but it does not set every process or joint.
Thin sheet needs control at the low end to avoid burn-through; thick sections may require joint preparation, multiple passes, or preheat rather than simply turning amperage higher.
2. Follow the Consumable Operating Range
Stick electrode classification and diameter define a recommended current range and polarity. MIG wire diameter, feed speed, voltage, gas, and transfer mode work together. TIG current also depends on electrode, shielding, pulse, and travel.
Use the consumable manufacturer data for the exact product. Similar-looking electrodes are not interchangeable settings.
3. Account for Joint Design and Heat Sink
A fillet on thick plate, an open-root groove, and a lap joint on sheet require different technique. Large surrounding mass draws heat away; a small edge heats and melts quickly.
Clean material and consistent fit-up reduce the temptation to compensate for contamination or gaps with excess heat.
4. Make and Evaluate a Test Coupon
Set up scrap of the same alloy, thickness, joint, orientation, and preparation. Observe arc stability, bead shape, undercut, penetration evidence, spatter, and distortion.
Visual appearance alone cannot certify internal fusion. Use the inspection and testing required by the job or procedure.
5. Confirm Machine Capacity at the Needed Duty
A welder may reach the required amperage but only at a short duty cycle. Compare rated output, input power, cooling, leads, torch or gun capacity, and duty cycle at the planned setting.
For production, the sustainable rating matters more than the maximum knob value.
Set a Safe Starting Range
- Identify material and measured thickness.
- Select welding process and joint design.
- Choose the approved consumable and diameter.
- Read the machine chart, data sheet, or WPS.
- Set polarity, gas, voltage, feed, and amperage as required.
- Test on representative scrap.
- Inspect and adjust only within approved limits.
Mistakes That Lead to a Poor Purchase
- Treating one amp-per-thousandth as a procedure.
- Ignoring electrode diameter and polarity.
- Compensating for dirty metal with more amperage.
- Using maximum output without checking duty cycle.
Frequently Asked Questions
How many amps are needed for 1/4-inch steel?
It depends on process, joint, consumable, passes, and procedure. Use the equipment chart or approved WPS rather than one universal number.
Does thicker metal always need more amperage?
It generally needs more heat input or joint preparation, but multiple passes, beveling, preheat, and process choice can be as important as peak current.
Why does thin metal burn through?
Excess heat, slow travel, poor fit-up, large gaps, or the wrong process setting can be responsible. Use a representative test and the machine chart.
Sources and Buying Next Step
For this welding amperage by metal thickness guide, manufacturer or government guidance provides the technical baseline. Always let the exact equipment manual, nameplate, applicable electrical code, and local safety requirements control the final decision.
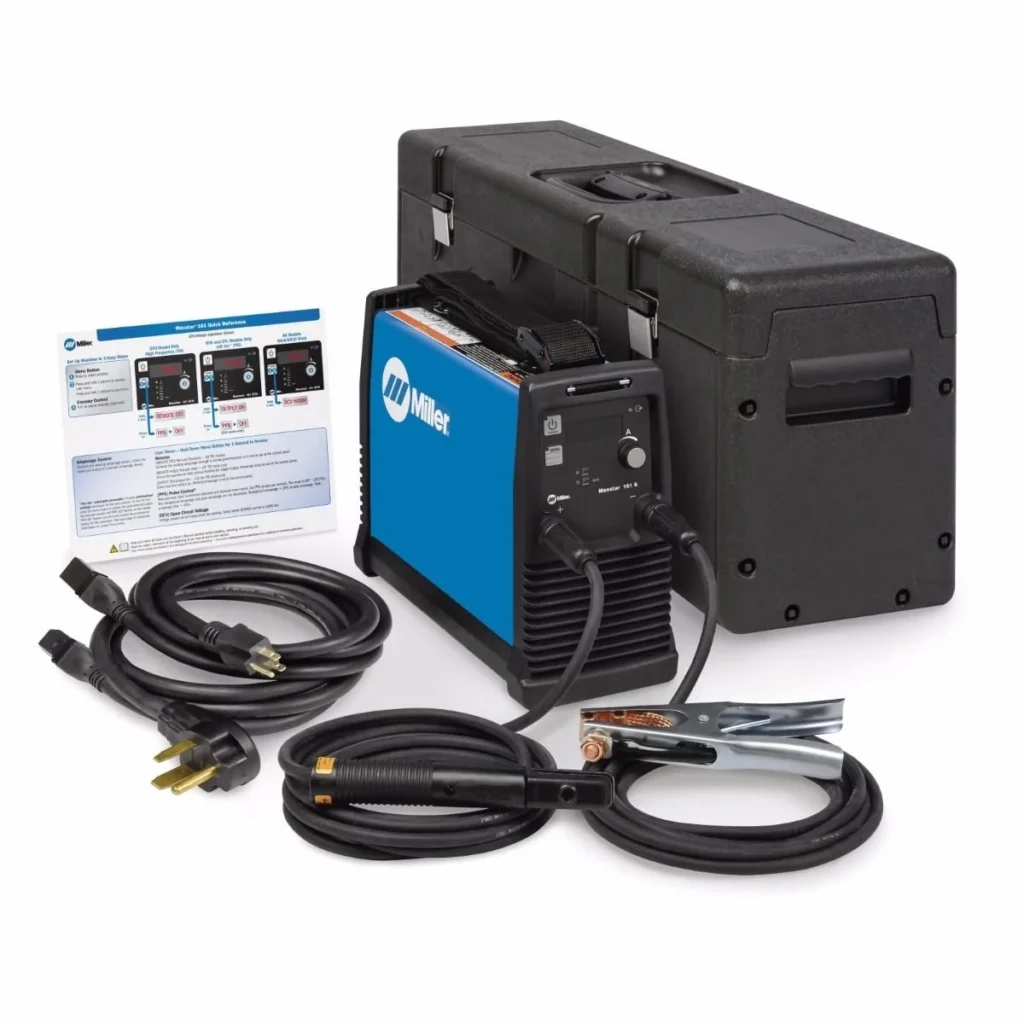
Bottom line: Use thickness to find a starting class, but set the weld from the exact process, consumable, joint, and approved procedure. Browse the welding machine range to compare real specifications after completing the checklist above.
HarfanTools product guidance
Need help choosing industrial equipment?
Compare professional tools, review specifications and find equipment suited to your operation.
One Comment
Comments are closed.