
No products in the cart.
Concrete Dust Containment: 7 Best Setup Steps
Build concrete dust containment with source capture, isolation, negative pressure, HEPA filtration, airflow sizing and verified cleanup.
 Written byHarfanTools Editorial Team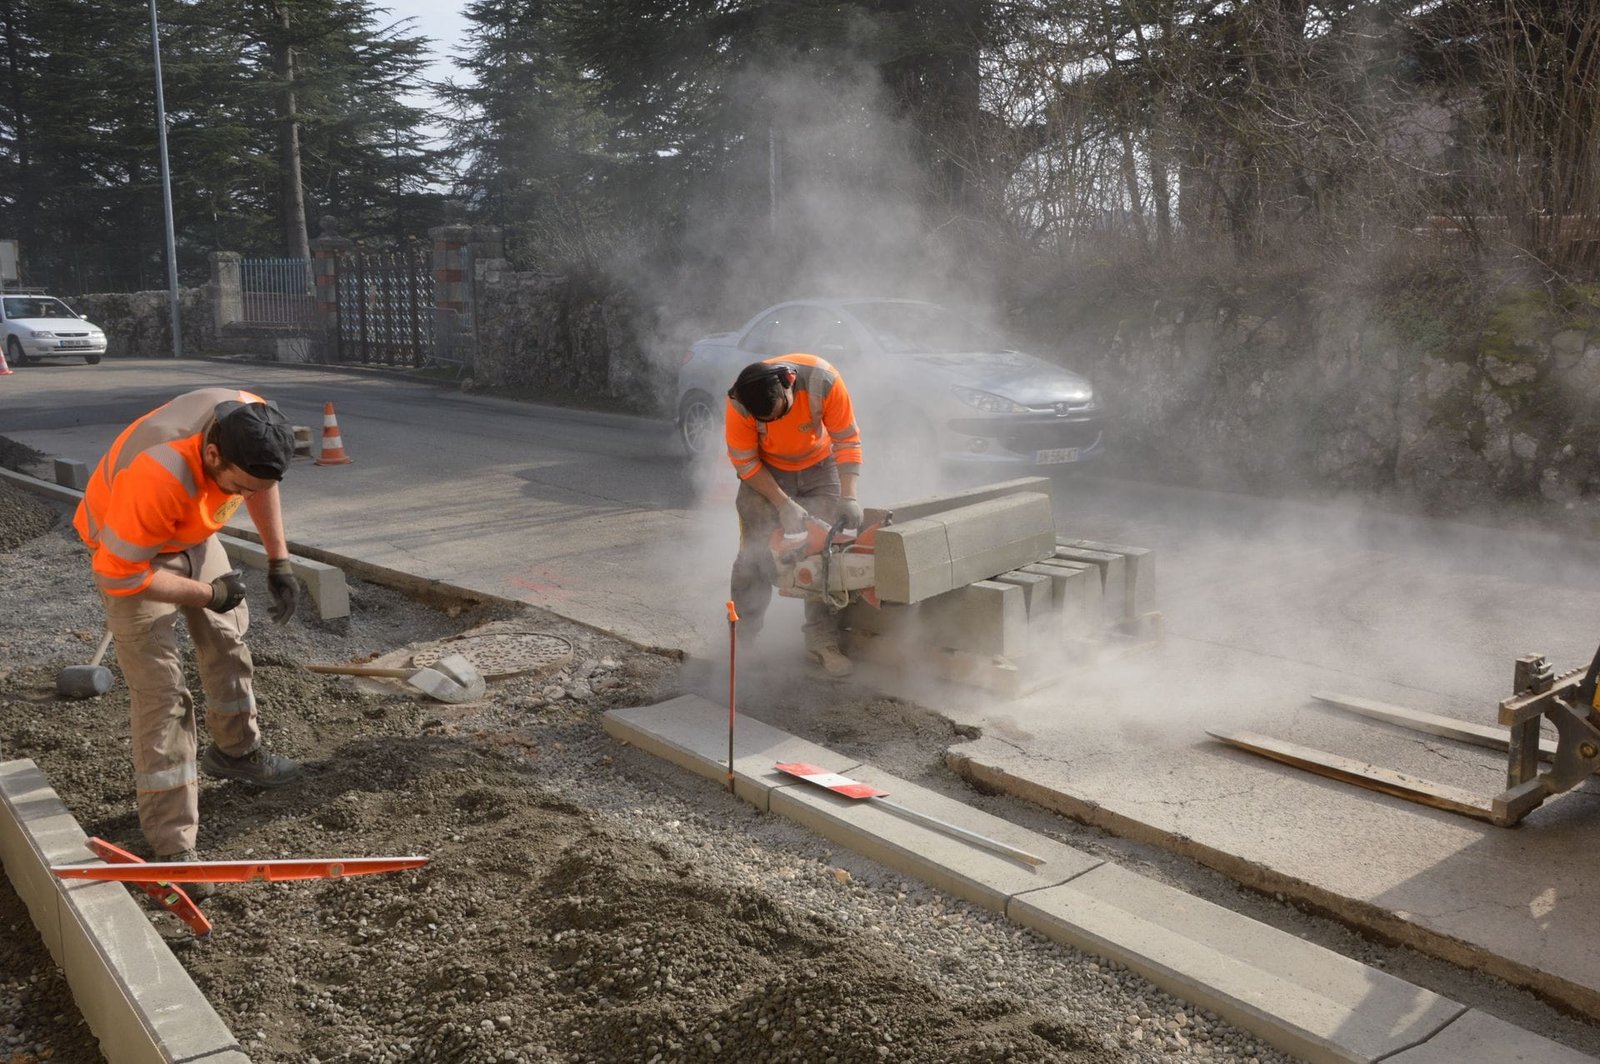
Concrete dust containment requires more than placing an air scrubber in the room. A reliable setup combines source capture, a sealed work zone, controlled airflow, HEPA filtration, safe housekeeping, and documented checks. This seven-step guide explains how contractors can build that system for indoor cutting, grinding, drilling, and demolition work.
The setup below is intended as practical planning guidance for projects in the United States, Canada, and Asia. Exposure limits and required controls vary by jurisdiction, so the competent person for the project should confirm the applicable rules and the tool manufacturer’s instructions before work begins.
Concrete Dust Containment: Quick Setup Checklist
- Use wet cutting or an on-tool HEPA vacuum at the source.
- Isolate the work zone and protect HVAC openings.
- Size the air scrubber from room volume and target air changes.
- Place filtered exhaust to create directional airflow.
- Inspect prefilters and HEPA seals before each shift.
- Verify negative pressure and document filter condition.
- Clean with a HEPA vacuum or wet method, never dry sweeping.
1. Control Concrete Dust at the Tool First
An air scrubber is a secondary control, not a replacement for source capture. Use the shroud, water-delivery system, or local exhaust attachment specified for the saw, grinder, drill, or breaker. Connect dust-producing tools to a correctly rated HEPA dust extractor and check the hose, cuff, and collection container for leaks.
Source capture prevents a large portion of dust from entering the room, which reduces filter loading and helps the containment system maintain visibility. The OSHA construction silica guidance explains why engineering controls are the primary line of defense.
2. Build and Inspect the Containment Zone
Use fire-code-compliant barriers, reinforced seams, and a controlled entry. Seal penetrations around pipes and cables. Cover return-air grilles or isolate the affected HVAC zone so dust is not distributed to occupied areas. Where people must pass through the enclosure, use a two-stage flap or zipper entry and place a tack mat or cleanable transition area outside it.
Walk the perimeter before every shift. A small tear close to the exhaust path may be manageable, while an uncontrolled opening on the clean side can short-circuit airflow and spread contamination.
3. Calculate the Required Air Scrubber CFM
Start with the work-zone volume: length x width x height. Multiply that volume by the target air changes per hour (ACH), then divide by 60 to estimate required airflow in cubic feet per minute.
Required CFM = room volume x target ACH / 60. A 20 x 30 x 10 ft room contains 6,000 cubic feet. At six ACH, the theoretical requirement is 600 CFM. Add capacity for filter loading, duct resistance, and leakage, and verify actual airflow rather than relying only on the machine’s free-air rating.
4. Position the Air Scrubber for Negative Pressure
Place the intake inside the dirty zone and discharge filtered air outdoors or to an approved location when the project plan requires negative pressure. Keep the intake away from the clean-air entry so air travels across the work area instead of taking a short path directly through the machine. Use the shortest practical duct run and avoid crushed bends.
A pressure monitor or manometer provides better evidence than watching plastic sheeting alone. The enclosure should draw inward without collapsing. If pressure falls, inspect open doors, damaged barriers, clogged filters, disconnected ducting, and competing exhaust systems.
5. Use the Correct Filter Sequence
Install filters in the manufacturer’s specified order. A coarse prefilter protects the more expensive HEPA filter, while an optional secondary filter can extend service life on heavy-dust projects. A HEPA filter is designed to capture at least 99.97% of particles at 0.3 microns when it is properly installed and sealed; read the EPA explanation of HEPA filtration for context.
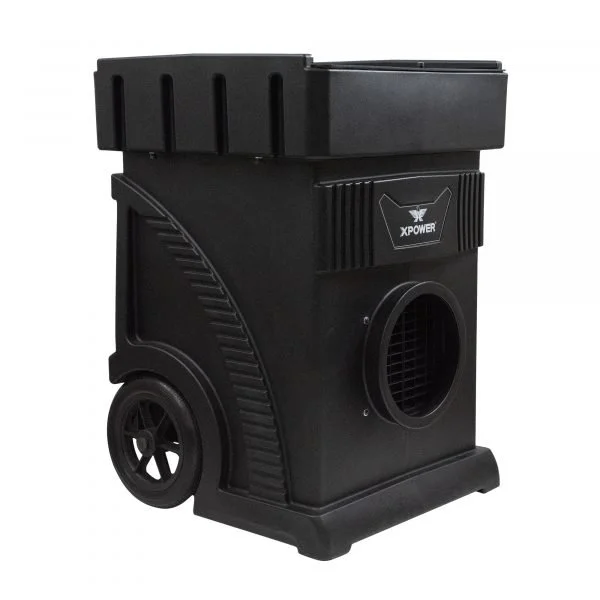
Do not blow out or shake a loaded filter. Change it using the equipment maker’s procedure, wear the required protective equipment, contain the used filter immediately, and record the change. Browse commercial air scrubbers and filtration equipment when comparing machine capacity and replacement filters, and review the commercial air purifier vs air scrubber comparison before choosing a machine type.
6. Verify the System During the Shift
- Confirm the airflow or filter indicator remains in the acceptable range.
- Check that barriers draw inward and entries close correctly.
- Inspect hoses and on-tool shrouds whenever tools are changed.
- Stop work if visible dust escapes the containment zone.
- Record pressure, filter condition, and corrective action on the daily log.
7. Clean and Dismantle Without Releasing Dust
Keep filtration operating while surfaces settle and are cleaned. Use a HEPA vacuum or wet method; avoid dry sweeping and compressed-air cleaning. Bag waste inside the enclosure, wipe tools before removal, and dismantle barriers from the clean side toward the dirty side. The project plan should define when monitoring shows the zone is ready to reopen.
Common Concrete Dust Containment Mistakes
- Sizing from floor area instead of full room volume.
- Using an air scrubber without source capture.
- Returning filtered air beside the intake and short-circuiting the room.
- Ignoring airflow loss caused by loaded filters and long ducts.
- Opening the enclosure before final HEPA cleaning is complete.
Frequently Asked Questions
How many air changes are needed for concrete dust containment?
There is no single number for every project. The target depends on the task, enclosure leakage, occupancy, local rules, and project specification. Calculate a starting CFM and then verify pressure and control performance in the field.
Can a HEPA air scrubber remove silica dust?
It can capture airborne particles that reach the filter, but it does not replace wet methods, on-tool extraction, exposure assessment, or respiratory protection when required.
Should filtered air be exhausted outside?
Outdoor discharge is commonly used to create negative pressure, but the discharge location must be approved and must not expose workers, occupants, or air intakes. Follow the project plan and local requirements.
Bottom line: effective concrete dust containment is a complete control system. Capture dust at the tool, isolate the zone, calculate airflow, verify negative pressure, maintain filters, and document performance throughout the project.
HarfanTools product guidance
Need help choosing industrial equipment?
Compare professional tools, review specifications and find equipment suited to your operation.

One Comment