MIG vs TIG vs Stick welding is one of the most common process-selection questions in fabrication. MIG prioritizes productivity and an easier learning curve, TIG offers precise heat and finish control, and Stick remains highly practical for outdoor, repair, and heavy-material work.
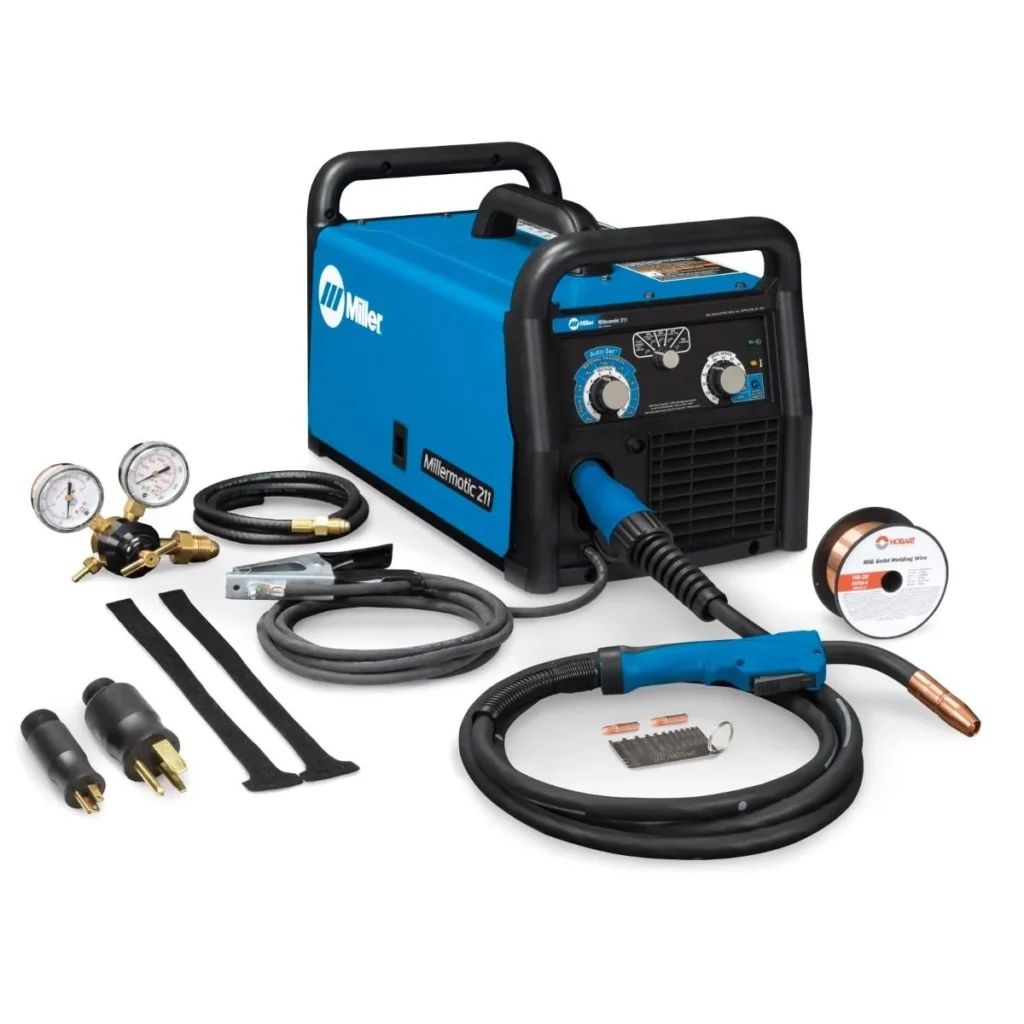
The correct process depends on base metal, thickness, joint access, required appearance, production volume, environment, code requirements, and available power. This framework applies to workshops in North America and Asia, with regional voltage and consumable availability checked separately.
MIG vs TIG vs Stick Welding: Quick Comparison
| Decision factor | What to check |
|---|---|
| Fast general fabrication | MIG/GMAW |
| Thin stainless or aluminum finish work | TIG/GTAW |
| Outdoor repair and heavy steel | Stick/SMAW |
| Lowest cleanup | Depends on material; TIG usually produces no spatter |
1. How MIG Welding Works
MIG feeds a continuous wire electrode through the gun while shielding gas protects the weld pool. It supports high deposition rates, straightforward starts and stops, and efficient production of frames, cabinets, automotive components, and general steel assemblies.
Gas-shielded MIG is sensitive to wind. Flux-cored wire can improve outdoor capability and deposition, but slag, fumes, and wire selection change the process requirements.
2. How TIG Welding Works
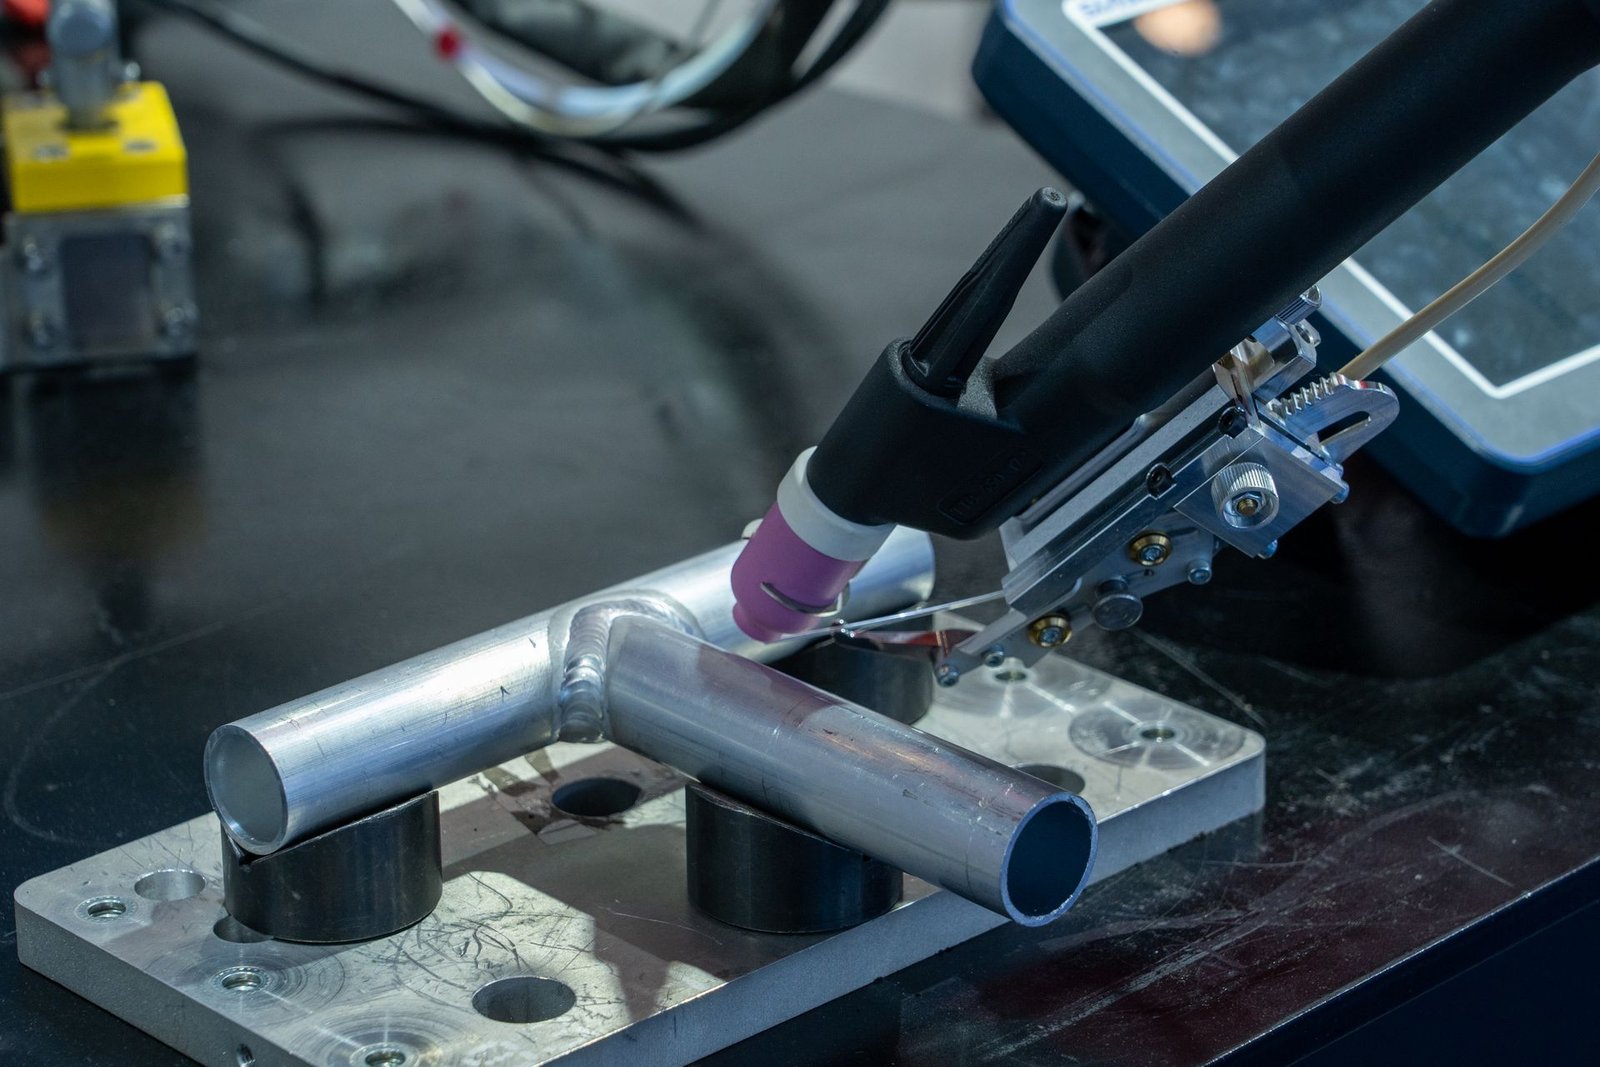
TIG uses a non-consumable tungsten electrode and separately added filler when required. Independent control of the arc and filler makes it suitable for thin material, root work, stainless steel, aluminum, and visible welds.
The process demands coordination and clean preparation and is normally slower than MIG. AC capability, high-frequency start, pulse control, torch cooling, and low-amp stability matter for advanced work.
3. How Stick Welding Works
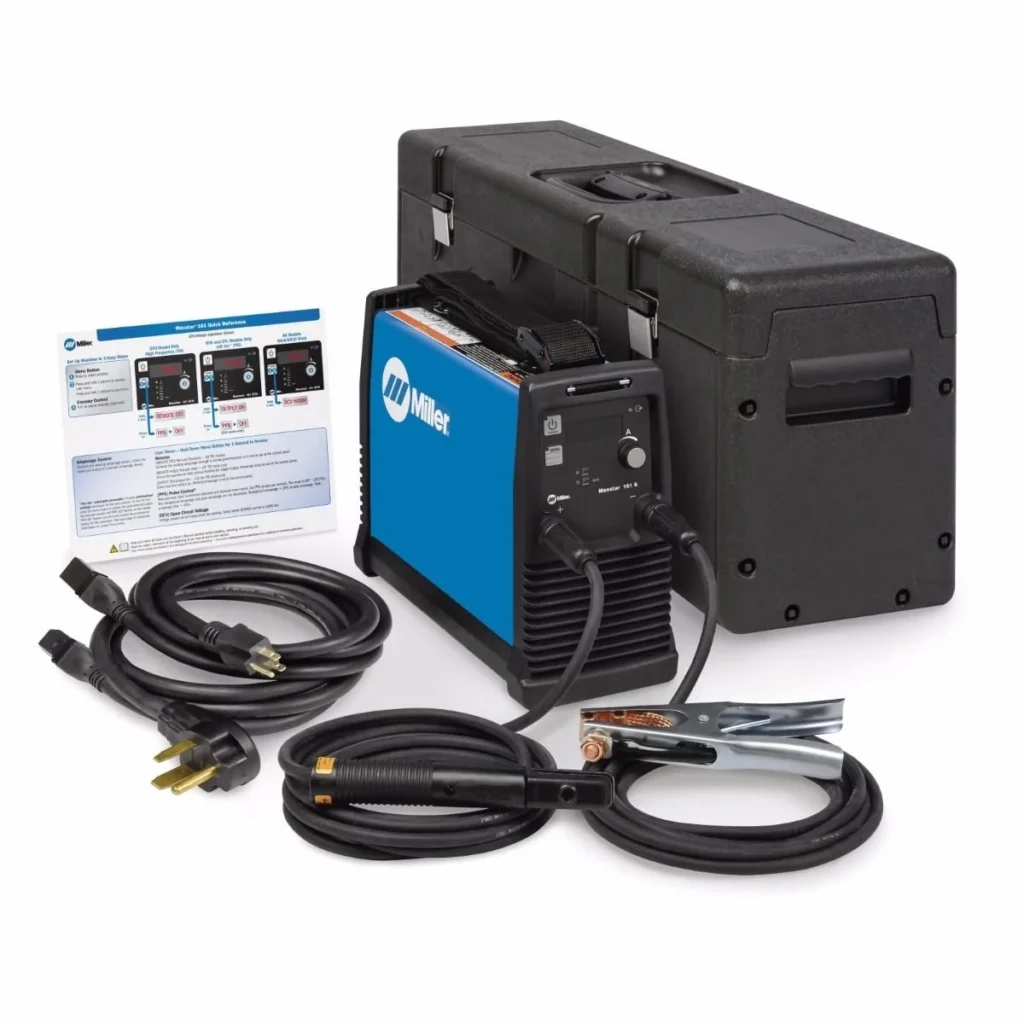
Stick welding uses a flux-coated consumable electrode. It is portable, tolerant of outdoor conditions, and available with electrodes for repair, structural, hardfacing, and specialty applications. Equipment can be simple and rugged.
Operators must manage arc length, electrode angle, starts, stops, and slag removal. Electrode storage and condition directly affect weld quality.
4. Match Process to Metal and Thickness
MIG handles a broad range of carbon steel and, with correct equipment, stainless and aluminum. TIG excels on thin and reactive materials when cleanliness and appearance matter. Stick is effective on heavier steel and field repair.
No process compensates for incorrect filler, shielding, polarity, joint design, or preparation. Follow the applicable welding procedure and code.
5. Compare Productivity and Finish
MIG usually delivers the highest travel and deposition speed for repeat production. TIG takes longer but can reduce grinding on visible high-quality work. Stick requires electrode changes and slag removal but saves setup time in remote locations.
Calculate total labor including preparation, positioning, rework, grinding, and inspection rather than arc time alone.
6. Select Power, Duty Cycle, and Fume Control
Match input voltage and phase to the facility. Compare output at the required duty cycle, not only maximum amps. Asian buyers should confirm 50 Hz support; North American buyers should check 120/240 V or three-phase requirements.
Every process produces hazards. Use local exhaust, screens, fire controls, grounding, PPE, and a written hot-work system appropriate to the site.
Welding Process Selection Checklist
- Identify base metal and thickness.
- Define required appearance and inspection.
- Estimate production volume and deposition rate.
- Check indoor or outdoor conditions.
- Confirm input power and duty cycle.
- Select filler, gas, and polarity.
- Plan fume extraction and hot-work controls.
Frequently Asked Questions
Is MIG or TIG easier for a beginner?
MIG is usually easier for a beginner to produce a basic weld, but safe setup and sound joint quality still require training and practice.
Which process is best for aluminum?
TIG offers excellent control for thin and high-finish work. MIG with a spool gun or push-pull system is productive on thicker aluminum.
Can one welder do all three processes?
Some multiprocess machines support MIG, TIG, and Stick, but feature depth, AC TIG, output, and accessories vary. Verify each required mode.
Trusted Resources and Next Steps
Review OSHA welding ventilation requirements and the broader metal fabrication tools guide.
Bottom line: Use MIG for productive general fabrication, TIG for maximum heat and finish control, and Stick for rugged field and repair work. Browse the professional welding equipment, or visit the HarfanTools knowledge center for more equipment guides.
Welding Process Selection Across Different Markets
In the US and Canada, home and light-fabrication shops often have single-phase power, while production facilities may have three-phase service. Check input amperage, breaker requirements, duty cycle at the intended output, and availability of shielding gas before selecting MIG or TIG equipment. For field repair, Stick welding remains useful because wind and dirty material are easier to manage, although preparation and correct electrodes still determine weld quality.
Asian workshops range from small 220–240-volt single-phase sites to large industrial plants with several supply standards. Confirm voltage, phase, frequency, connector, local certification, and service support for the exact model. Consumable availability is critical: torch parts, drive rolls, liners, electrodes, gas cups, and filler alloys should be obtainable without long downtime. Train and qualify operators to the applicable code; process choice cannot replace correct procedure, ventilation, PPE, and inspection.
Practical Review for MIG vs TIG vs Stick welding
When researching MIG vs TIG vs Stick welding, start with the real operating requirement rather than a headline specification. This is especially important for matching a welding process to material, joint quality, speed, and field conditions. Record the normal workload, peak demand, available utilities, operating environment, operator skill level, and the result the equipment must deliver. A written requirement makes supplier quotations easier to compare and reduces the risk of paying for capacity that the application cannot use.
Use MIG vs TIG vs Stick welding as a decision framework, then verify base metal, thickness, deposition rate, duty cycle, shielding, and operator skill. Published ratings should be checked at the same operating point and under comparable conditions. Ask the supplier to identify assumptions, included accessories, consumables, installation needs, and any derating that applies. A short demonstration with representative material or loads is more valuable than comparing a single maximum number.
Pre-purchase verification checklist
- List the metals and thickness range used most often.
- Balance appearance and heat control against production speed.
- Account for wind, surface condition, portability, and available power.
- Compare consumables, gas supply, fume control, training, and rework cost.
A complete MIG vs TIG vs Stick welding review should also compare total ownership cost. Include planned maintenance, wear parts, energy or fuel, downtime, training, inspection, and service response—not only the purchase price. For buyers in the United States and Canada, verify electrical certification, emissions rules, safety documentation, parts availability, and warranty coverage. Buyers across Asia should additionally confirm local voltage and frequency, ambient-temperature performance, import support, freight dimensions, and regional service capability.
Before approving the order, document the chosen MIG vs TIG vs Stick welding specification and the evidence behind it. Keep the supplier data sheet, test result, capacity calculation, accessory list, delivery scope, and acceptance criteria together. This creates a practical record for purchasing, commissioning, operator training, and future replacement decisions.
Complete Buying and Implementation Playbook for MIG vs TIG vs Stick welding
A defensible MIG vs TIG vs Stick welding decision connects the application, site, operator, supplier, and service plan. Begin by describing what a successful work cycle looks like: the input condition, expected output, time available, operating hours, environmental limits, and acceptable variation. Record both the routine case and the most demanding credible case. This prevents a vendor from sizing only for an easy demonstration and gives purchasing teams in the United States, Canada, and Asia a common basis for evaluating different brands.
1. Establish a measurable operating baseline
Observe the current process before requesting quotations. Measure cycle time, delays, rework, labor involvement, energy or fuel use, consumable use, material variation, and the frequency of peak conditions. Interview the operator, maintenance technician, safety representative, and production owner separately; each person sees a different constraint. Photographs, sketches, utility readings, and a short sample log help suppliers understand the site without relying on assumptions.
Convert observations into minimum, normal, and peak requirements. Minimum values protect quality and safety; normal values determine efficiency; peak values show whether reserve capacity is required. Avoid combining unrelated maximum values into an impossible worst case. Instead, identify realistic duty cycles and simultaneous events. This produces a specification that is demanding enough to protect the buyer without forcing every supplier toward an unnecessarily large and expensive model.
2. Turn requirements into a supplier-ready specification
The specification for MIG vs TIG vs Stick welding should separate mandatory requirements from preferences. Mandatory items include capacity at the stated operating point, site utilities, safety provisions, physical interfaces, environmental range, and required documentation. Preferences may include lower noise, easier controls, remote monitoring, or a particular accessory. Ask vendors to mark every requirement as compliant, noncompliant, or requiring clarification and to attach evidence for important ratings.
Do not compare a catalog maximum from one vendor with a continuous rating from another. Request the curve, test condition, tolerance, derating rule, and applicable standard behind each important number. Identify whether accessories, guards, filters, hoses, batteries, chargers, controls, foundations, fluids, software, freight, installation, and training are included. A clear boundary-of-supply table often prevents more cost and delay than negotiating a small discount.
3. Investigate the four application-critical checks
Check 1: List the metals and thickness range used most often
List the metals and thickness range used most often. Ask the supplier to show the source of its claim and explain the conditions that would change the result. Record the model, configuration, accessory, test material or load, measurement method, and responsible person. If the item affects capacity, safety, or product quality, place it in the acceptance plan rather than leaving it as a sales discussion. Evidence can be a certified data sheet, calculation, reference installation, sample result, or witnessed demonstration.
Check 2: Balance appearance and heat control against production speed
Balance appearance and heat control against production speed. Ask the supplier to show the source of its claim and explain the conditions that would change the result. Record the model, configuration, accessory, test material or load, measurement method, and responsible person. If the item affects capacity, safety, or product quality, place it in the acceptance plan rather than leaving it as a sales discussion. Evidence can be a certified data sheet, calculation, reference installation, sample result, or witnessed demonstration.
Check 3: Account for wind, surface condition, portability, and available power
Account for wind, surface condition, portability, and available power. Ask the supplier to show the source of its claim and explain the conditions that would change the result. Record the model, configuration, accessory, test material or load, measurement method, and responsible person. If the item affects capacity, safety, or product quality, place it in the acceptance plan rather than leaving it as a sales discussion. Evidence can be a certified data sheet, calculation, reference installation, sample result, or witnessed demonstration.
Check 4: Compare consumables, gas supply, fume control, training, and rework cost
Compare consumables, gas supply, fume control, training, and rework cost. Ask the supplier to show the source of its claim and explain the conditions that would change the result. Record the model, configuration, accessory, test material or load, measurement method, and responsible person. If the item affects capacity, safety, or product quality, place it in the acceptance plan rather than leaving it as a sales discussion. Evidence can be a certified data sheet, calculation, reference installation, sample result, or witnessed demonstration.
4. Review failure modes before selecting a model
Risk review is a practical part of MIG vs TIG vs Stick welding, even for a small purchase. A process mismatch may cause lack of fusion, distortion, contamination, slow deposition, poor outdoor shielding, excessive cleanup, or operator inconsistency. Rate each failure by safety impact, production impact, likelihood, and ease of detection. Then decide whether the response belongs in equipment design, an accessory, a site control, operator training, preventive maintenance, or a spare-parts plan.
Ask what happens after a sensor fault, blocked flow, overload, utility interruption, empty consumable, emergency stop, or incorrect operator setting. Safe recovery should be clear and repeatable. Also examine the consequences of foreseeable misuse and the method for isolating stored energy during service. Include alarms, interlocks, protective devices, and inspection points in the quotation comparison so that a low purchase price does not hide an incomplete safety scope.
5. Compare total cost rather than purchase price
Build a three-to-five-year ownership model using expected annual hours. Include delivered price, tax or duty, freight, rigging, installation, utility upgrades, training, energy or fuel, consumables, scheduled parts, wear items, calibration, inspections, software fees, and disposal. Estimate downtime cost separately because service response can be more important than a small difference in efficiency. State every assumption so the model can be revised when workload or local prices change.
Request a recommended spare-parts list with price, lead time, shelf life, and replacement skill level. Distinguish parts the buyer should stock from parts a regional service center promises to hold. Ask for labor rates, travel charges, warranty exclusions, preventive-maintenance options, and escalation contacts. For imported equipment, evaluate exchange-rate exposure and freight for heavy or hazardous components. These details make the MIG vs TIG vs Stick welding comparison financially realistic.
6. Validate regional compatibility
Confirm input power, gas availability, welder qualification standards, fume-control expectations, consumable supply, electrical certification, and technical-service access. Never assume that a model sold under the same name has identical motors, controls, emissions equipment, plugs, manuals, warranties, or certifications in every market. Put the destination country and installation address on the quotation and require the supplier to confirm the exact regional configuration in writing.
For the United States, verify the applicable electrical listing, workplace-safety documentation, engine or environmental requirements, pressure or lifting rules where relevant, and access to authorized service. Canadian buyers should additionally confirm Canadian certification marks, bilingual documentation where required, cold-weather suitability, and provincial inspection or occupational requirements. The final authority depends on the equipment and jurisdiction, so use a qualified local professional for regulated installations.
Across Asia, voltage and frequency vary by country and sometimes by region. Confirm phase, plug or disconnect, control voltage, ambient temperature, humidity, altitude, dust or rain exposure, fuel quality, language, communications bands, and import documentation. Check whether warranty work is performed locally or requires international approval. A distributor with technicians and stocked parts near the installation can provide more value than a lower-priced unit with no practical support route.
7. Design the acceptance test before issuing the order
The acceptance plan for MIG vs TIG vs Stick welding should state who supplies the test load or material, which instruments are used, the operating sequence, warm-up period, sampling duration, pass limits, allowed adjustments, and the evidence delivered afterward. For this application, Produce sample joints in the normal positions and thicknesses, inspect appearance and penetration, record settings and travel speed, and complete required destructive or nondestructive tests. Both sides should approve the procedure before shipment whenever failure would cause costly installation delays.
Separate factory acceptance, delivery inspection, installation checks, site acceptance, and operator handover. At delivery, record packaging condition, serial numbers, configuration, accessories, manuals, and damage. Before operation, confirm foundations, clearances, utilities, fluids, guards, fasteners, alignment, and settings. During the site test, use representative conditions and record measured values. Close every deviation with a named owner and due date before final payment or handover.
8. Prepare maintenance and support before commissioning
Control torch and lead condition, liners, contact tips, electrodes, gas delivery, cooling, grounding, fume extraction, calibration, and consumable storage. Convert manufacturer intervals into calendar or operating-hour tasks and assign each task to a role. Identify special tools, lubricants, calibration equipment, safe-isolation steps, and environmental disposal needs. Load the schedule, part numbers, inspection forms, and service contacts into the site maintenance system before production begins.
Stock only the spares justified by failure impact, usage rate, lead time, and shelf life. Critical low-cost items usually deserve local stock; expensive assemblies may be better covered by a service agreement or confirmed regional inventory. Review maintenance records after the first month and again after the first full service interval. Early data often reveals unrealistic intervals, training gaps, difficult access, or consumable usage that was not visible during selection.
9. Train operators around decisions, not only controls
Training should explain correct setup, normal indicators, operating limits, quality checks, safe shutdown, emergency response, daily inspection, and the symptoms that require maintenance. Include hands-on practice with the real material or load. Ask each operator to demonstrate the task rather than only signing an attendance sheet. Supervisors need enough knowledge to recognize when production pressure is pushing equipment outside its intended duty.
Create a concise workstation guide using photographs of the installed configuration. Show acceptable and unacceptable conditions, required personal protective equipment, inspection points, adjustment limits, and escalation contacts. Keep the full manual available but do not expect operators to search it during a developing problem. Refresher training should follow incidents, major repairs, configuration changes, long shutdowns, or repeated quality deviations.
10. Preserve evidence for the next purchasing cycle
Close the MIG vs TIG vs Stick welding project with a controlled equipment record: approved specification, quotation clarifications, drawings, calculations, certificates, test results, serial numbers, software versions, spare-parts list, warranty terms, training records, and maintenance baseline. Record why the selected option won and which compromises were accepted. This information speeds troubleshooting and gives the organization a stronger starting point when expanding or replacing the equipment.
After three to six months, compare actual capacity, quality, downtime, consumable use, energy or fuel, operator feedback, and maintenance hours with the business case. Share the result with purchasing, operations, maintenance, and the supplier. A short post-implementation review turns one purchase into reusable knowledge and prevents the same sizing, contracting, or support mistakes from appearing at another site.
Final Questions About MIG vs TIG vs Stick welding
What evidence completes the review?
A complete MIG vs TIG vs Stick welding file contains the approved operating requirement, supplier compliance response, regional configuration, total-cost comparison, risk controls, acceptance result, training record, and maintenance baseline. The final MIG vs TIG vs Stick welding recommendation should cite measured or published evidence for every requirement that affects capacity, safety, quality, or regulatory compliance.
When should the decision be reviewed again?
Revisit MIG vs TIG vs Stick welding whenever the workload, material, site utility, accessory, control software, safety rule, supplier support, or installation environment changes. Also review the MIG vs TIG vs Stick welding record after the first major service interval. Actual operating data can reveal a better setting, spare-parts policy, inspection frequency, or specification for the next purchase.
\nNeed help choosing industrial equipment?
Compare professional tools, review specifications and find equipment suited to your operation.